Surviving Pre-Holiday Stress

The holidays are typically a time where family and friends can get together and celebrate. For some, the weeks leading up to the holidays can cause headaches, havoc and unrest. Here are some tips to help you survive the weeks leading up to the holiday season.

Plan Ahead

Now is the time to look at the calendar and lay it all out. Identify which day will be a shopping day, which day is a baking day, which day will be occupied with get togethers. By labeling it ahead of time you will be able to avoid feeling like you are running out of time. Don't forget to schedule time for self-care, it’s easy to forget about the most important person during this time of year, you!

Just Say No

Don’t be afraid to say “No”. Recognize that you can’t do everything and be everything all the time. Saying yes all the time can leave you feeling overwhelmed and exhausted.

Be realistic

Does it have to be perfect? Is good enough? Thanks to social media, now more than ever we have these imaginary standards of how something is supposed to look. Trying to keep up with pinterest can be exhausting and impossible.

Stick to a budget

Get an idea of how much you can realistically spend over the holidays without going into too much debt. Spending too much over the holidays leads to stress, anxiety and depression in the New Year when the credit card bills start to roll in. Strategies to avoid spending too much over the holidays include:

  • Donate to a charity in somebody' else’s name

  • Give homemade gifts

  • Start a family gift exchange

  • Avoid eating out, have pot luck get togethers instead

Don’t abandon healthy habits

Even though you may be busy, still make time for exercise, stick to a healthy diet and sleep routine.

Feel It

Recognize how your are feeling and talk about it. It’s not always possible to be with your loved ones and that can be difficult. Whether it is due to distance or the passing of a loved one, sometimes it is difficult to process these feelings during this time of year. It’s okay to cry and express yourself, just because it’s the holidays doesn’t mean you have to be happy. Take some time to look at old pictures, tell stories about them, sing their favourite song, cook their favourite meal to feel close to them.

Remembering a feeling is much easier than what gift was given in any particular year. Take the time to reflect and recharge with your loved ones over the holiday season!

Happy Holidays!

Cinnamon Maple Pumpkin Seeds - Recipe

In the next few days leading up to Halloween a lot of families will be carving pumpkins to put out on their step for the night of Halloween … Fun Fact: This is a Celtic tradition! The Celts used to carve faces in vegetables like squash and turnips and place a candle inside to light the face which they believed would scare away evil spirits that lurked in the darkness and light a path to their home for good spirits and visitors!

After cleaning out the pumpkins you are usually left with all the “guts” as my kids call it, which sometimes includes a lot of seeds. These typically will just get discarded into the green bin or compost, but one thing I enjoy doing with my seeds is roasting them to make a tasty little snack!

Pumpkin seeds that we see in stores in the raw form are usually green, this is because the shell has been removed (that is the white part of the ones we get directly from any type of squash). In the raw form from a sore or fresh from a squash, you will still get the same nutrient benefits! These little seeds are full of important nutrients the body needs like fibre, iron, and many vitamins and minerals. They are also high in antioxidants, and can help regulate blood sugar!

CINNAMON MAPLE ROASTED PUMPKIN SEEDS

  • 1 cup pumpkin seeds (washed and dried)

  • 1 tablespoon extra virgin olive oil

  • 2 tablespoons maple syrup

  • 1/2 teaspoon sea salt

  • 1/2 tablespoon cinnamon

Directions:

  1. Preheat oven to 300 degrees and line baking sheet with parchment paper.

  2. Prep seeds - make sure they are washed and dried thoroughly this will help with the crunch factor

  3. Mix everything together in a bowl

  4. Spread evenly onto baking sheet

  5. Bake for 40-50 minutes or until golden brown - stirring half way

  6. Remove from oven, let cool & Enjoy!

You can make any flavour you like using fresh herbs or spices to make them more savoury (smoked paprika would be a good one!) or even using raw cacao, shredded coconut and coconut oil to make a chocolate flavour. I am a sucker for anything maple cinnamon so this is what I focus on in this recipe but the options definitely do not end there!

These are great to have ready to go for halloween night to snack on and might help you avoid any temptation of wanting to eat the snacks you might have aside for your trick-or-treaters!

Store them in an airtight container at room temp (once completely cooled to avoid sticking together or getting soft!)

- Happy Halloween -

Who Doesn't Love A Good Apple Crisp? - Recipe

Happy Thanksgiving weekend everyone!

One thing I enjoy about family get togethers is making healthy versions of classic recipes and tricking my whole family into thinking its their traditional recipe (ha ha ha!)

i am sure every family in Cape Breton has a traditional recipe for Apple Crisp. While yes, they are delicious, I don’t see the need for crazy amounts of brown sugar, white sugar, white flour and up to 1/2 cup of butter which makes up the bulk of these recipes (and then top that off with vanilla ice cream! whoa!)

So if you are looking to bring healthier options to your thanksgiving dinner this weekend, give this apple crisp a try and let us know what you think! I am heading to get some local apples later today so i can prepare this desert for my dinner tomorrow and I will also be topping the warm crisp with organic coconut ice cream !

Not So Traditional Apple Crisp - Serves: 8 - Time: 1 hour

Ingredients:

2-4 large apples (cored and sliced)

1/3 cup maple Syrup (divided)

1 tbsp Coconut Flour

1/4 cup unsweetened applesauce (organic or homemade!)

1 cup oat Flour

3/4 cup oats

1 tsp baking Powder

1/2 tsp sea Salt

1/3 cup coconut Oil

1 cup Organic Coconut Ice Cream (optional)

Directions:

Preheat oven to 350ºF (177ºC). Place coconut oil in freezer to chill.

  1. Add apples, 1/3 of the maple syrup, coconut flour and applesauce to a medium bowl and toss until coated. Set aside while you make the crust.

  2. Add the oat flour, oats, the remaining 2/3 of the maple syrup, baking powder and sea salt to a different bowl and stir until combined.

  3. Remove coconut oil from the freezer and add to mixture. Use your fingers to work it in until coarse crumbs form and the mixture holds together when pressed.

  4. Remove a 1/3 of the crumbs for the topping and pour the remaining crumbs into the bottom of a tart pan or pie dish. Press the dough evenly into the pan.

  5. Pour the apples over the crust. Sprinkle the remaining crumble evenly over the apples.

  6. Bake for 40 to 45 min or until the crust is lightly brown. Check at 20 to 30 minutes if the tart is getting too brown. If so, tent with foil to prevent burning.

  7. Scoop into bowls and serve with organic coconut ice cream and Enjoy!

Looking for more fall inspired recipes? Click here and download our free Fall Recipe E-book!

Cleaned Up Pumpkin Spice Latte - Recipe

Untitled design (4).png

You know it is officially fall when everything is all about pumpkins, pumpkin pie and especially the PSL (pumpkin spice latte)

Personally, I don’t see this as a bad thing ! Pumpkins are delicious and what is referred to as pumpkin spice is made up of some of my favourite spices (cinnamon, ginger and nutmeg!)

Pumpkins are a really great source of nutrients, antioxidants, vitamin C and loads of gut friendly fibre. The spices are equally as good for you with cinnamon being helpful for regulating blood sugar and ginger has anti-inflammatory benefits.

However, most of the pumpkin spiced goodies we get this time of year contain way too much added sugar (as much as 50 grams of sugar in a 16oz pumpkin spice beverage - that is a lot!)

We figured we would help you out with your pumpkin spice addiction and give you a healthy, cleaned up version of the traditional pumpkin spice latte (trust me, you won’t want to go back!)

Check it out and let us know if you give it a try!

CLEANED UP PUMPKIN SPICE LATTE

Yields: 1 serving

Ingredients:

1/2 cup organic coffee

2tbsp pumpkin puree (organic if canned OR homemade - see instructions below) *

1.5 tbsp pure maple syrup

1/2 tsp pumpkin pie spice **

3/4 cup unsweetened almond milk ***

Directions:

  1. Brew coffee and set aside

  2. in a sauce pan over med. heat, combine pumpkin puree, spice, and maple syrup. Once combined, add in almond milk and simmer until heated.

  3. Transfer to a blender, pulse until frothy (you can use a hand held blender also)

  4. Add milk mixture to hot coffee. Use a spoon to hold back froth then top latte with froth.

  5. Optional - top with whipped cream or coconut whip, sprinkle with additional pumpkin spice

    Enjoy!

NOTES

* Homemade Pumpkin Puree - cut 1 small pumpkin into large chunks - bake in baking dish with lid on and 1/4” water in bottom of dish in oven at 375 degrees for 35-45 minutes or until tender. Blend/puree in food processor until smooth. Using fresh pumpkin will provide more nutrients and also taste better!

** DIY Pumpkin Pie Spice - 1/4 cup ground cinnamon, 4 tsp ground ginger, 1Tbsp allspice - when buying spices try to purchase organic, these have gone through less processing and are much more fresh than highly processed versions.

*** No almond milk ? use coconut milk (or any milk of your liking!)

-caffeine free? use extra milk!

-no blender? whisk everything together in sauce pan - this will not be as frothy but will still taste delicious!

Not into pumpkin? Check out these Gingerbread inspired recipes HERE

Happy (almost) Fall!

All summer long on Friday’s I have been posting some of my favourite recipes. So this week I thought I would do something a little bit different.

With a new season upon us and because it also happens to be one of my favourite times of year for cooking and using all the great local ingredients we have at our fingertips here on the east coast, I thought I would put together a free downloadable e-book with some fall inspired recipes!

The e-book also comes with some informational pages about immune boosting foods and also what it means to “eat in season”. The recipes have modifications in the notes if you are looking for Gluten free, vegetarian or vegan options as well.

I hope you get to try some of the recipes out and if you do, be sure to let me know! Download the book, print it off, share with your family and friends, and Enjoy!

~ Allyson

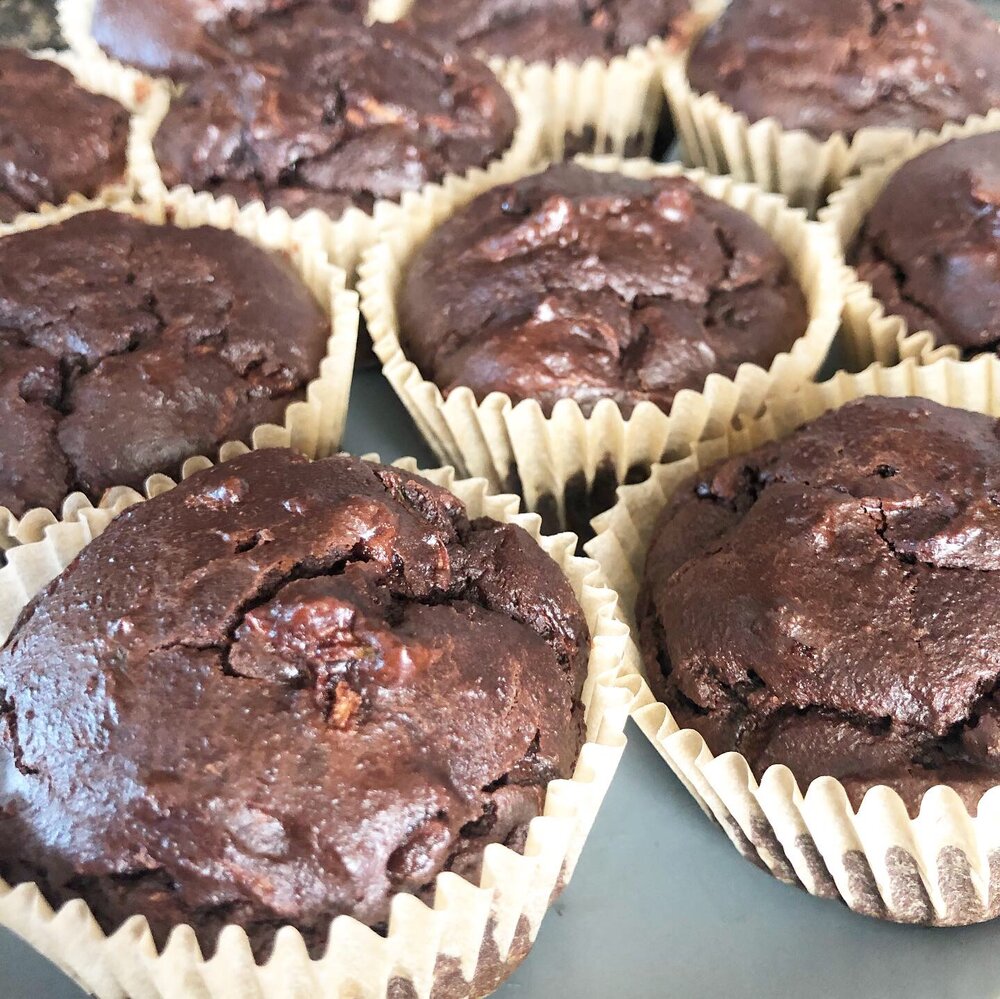
Chocolate Zucchini Blender Muffins

This muffin recipe was a pretty big hit at my house…no one even knew there was a vegetable mixed in!

If you do not have a blender…no worries it is not necessary. You can mix it the old fashion way (by hand!) or you can also use a hand mixer. If you are going to make them without the blender or mixer, make sure to whisk the eggs and wet ingredients before adding in the dry ingredients!

Give them a try and let us know what you think!

Chocolate Zucchini Blender Muffins - Recipe (Yields 12)

Ingredients:

  • 3 eggs

  • 2 cups almond flour

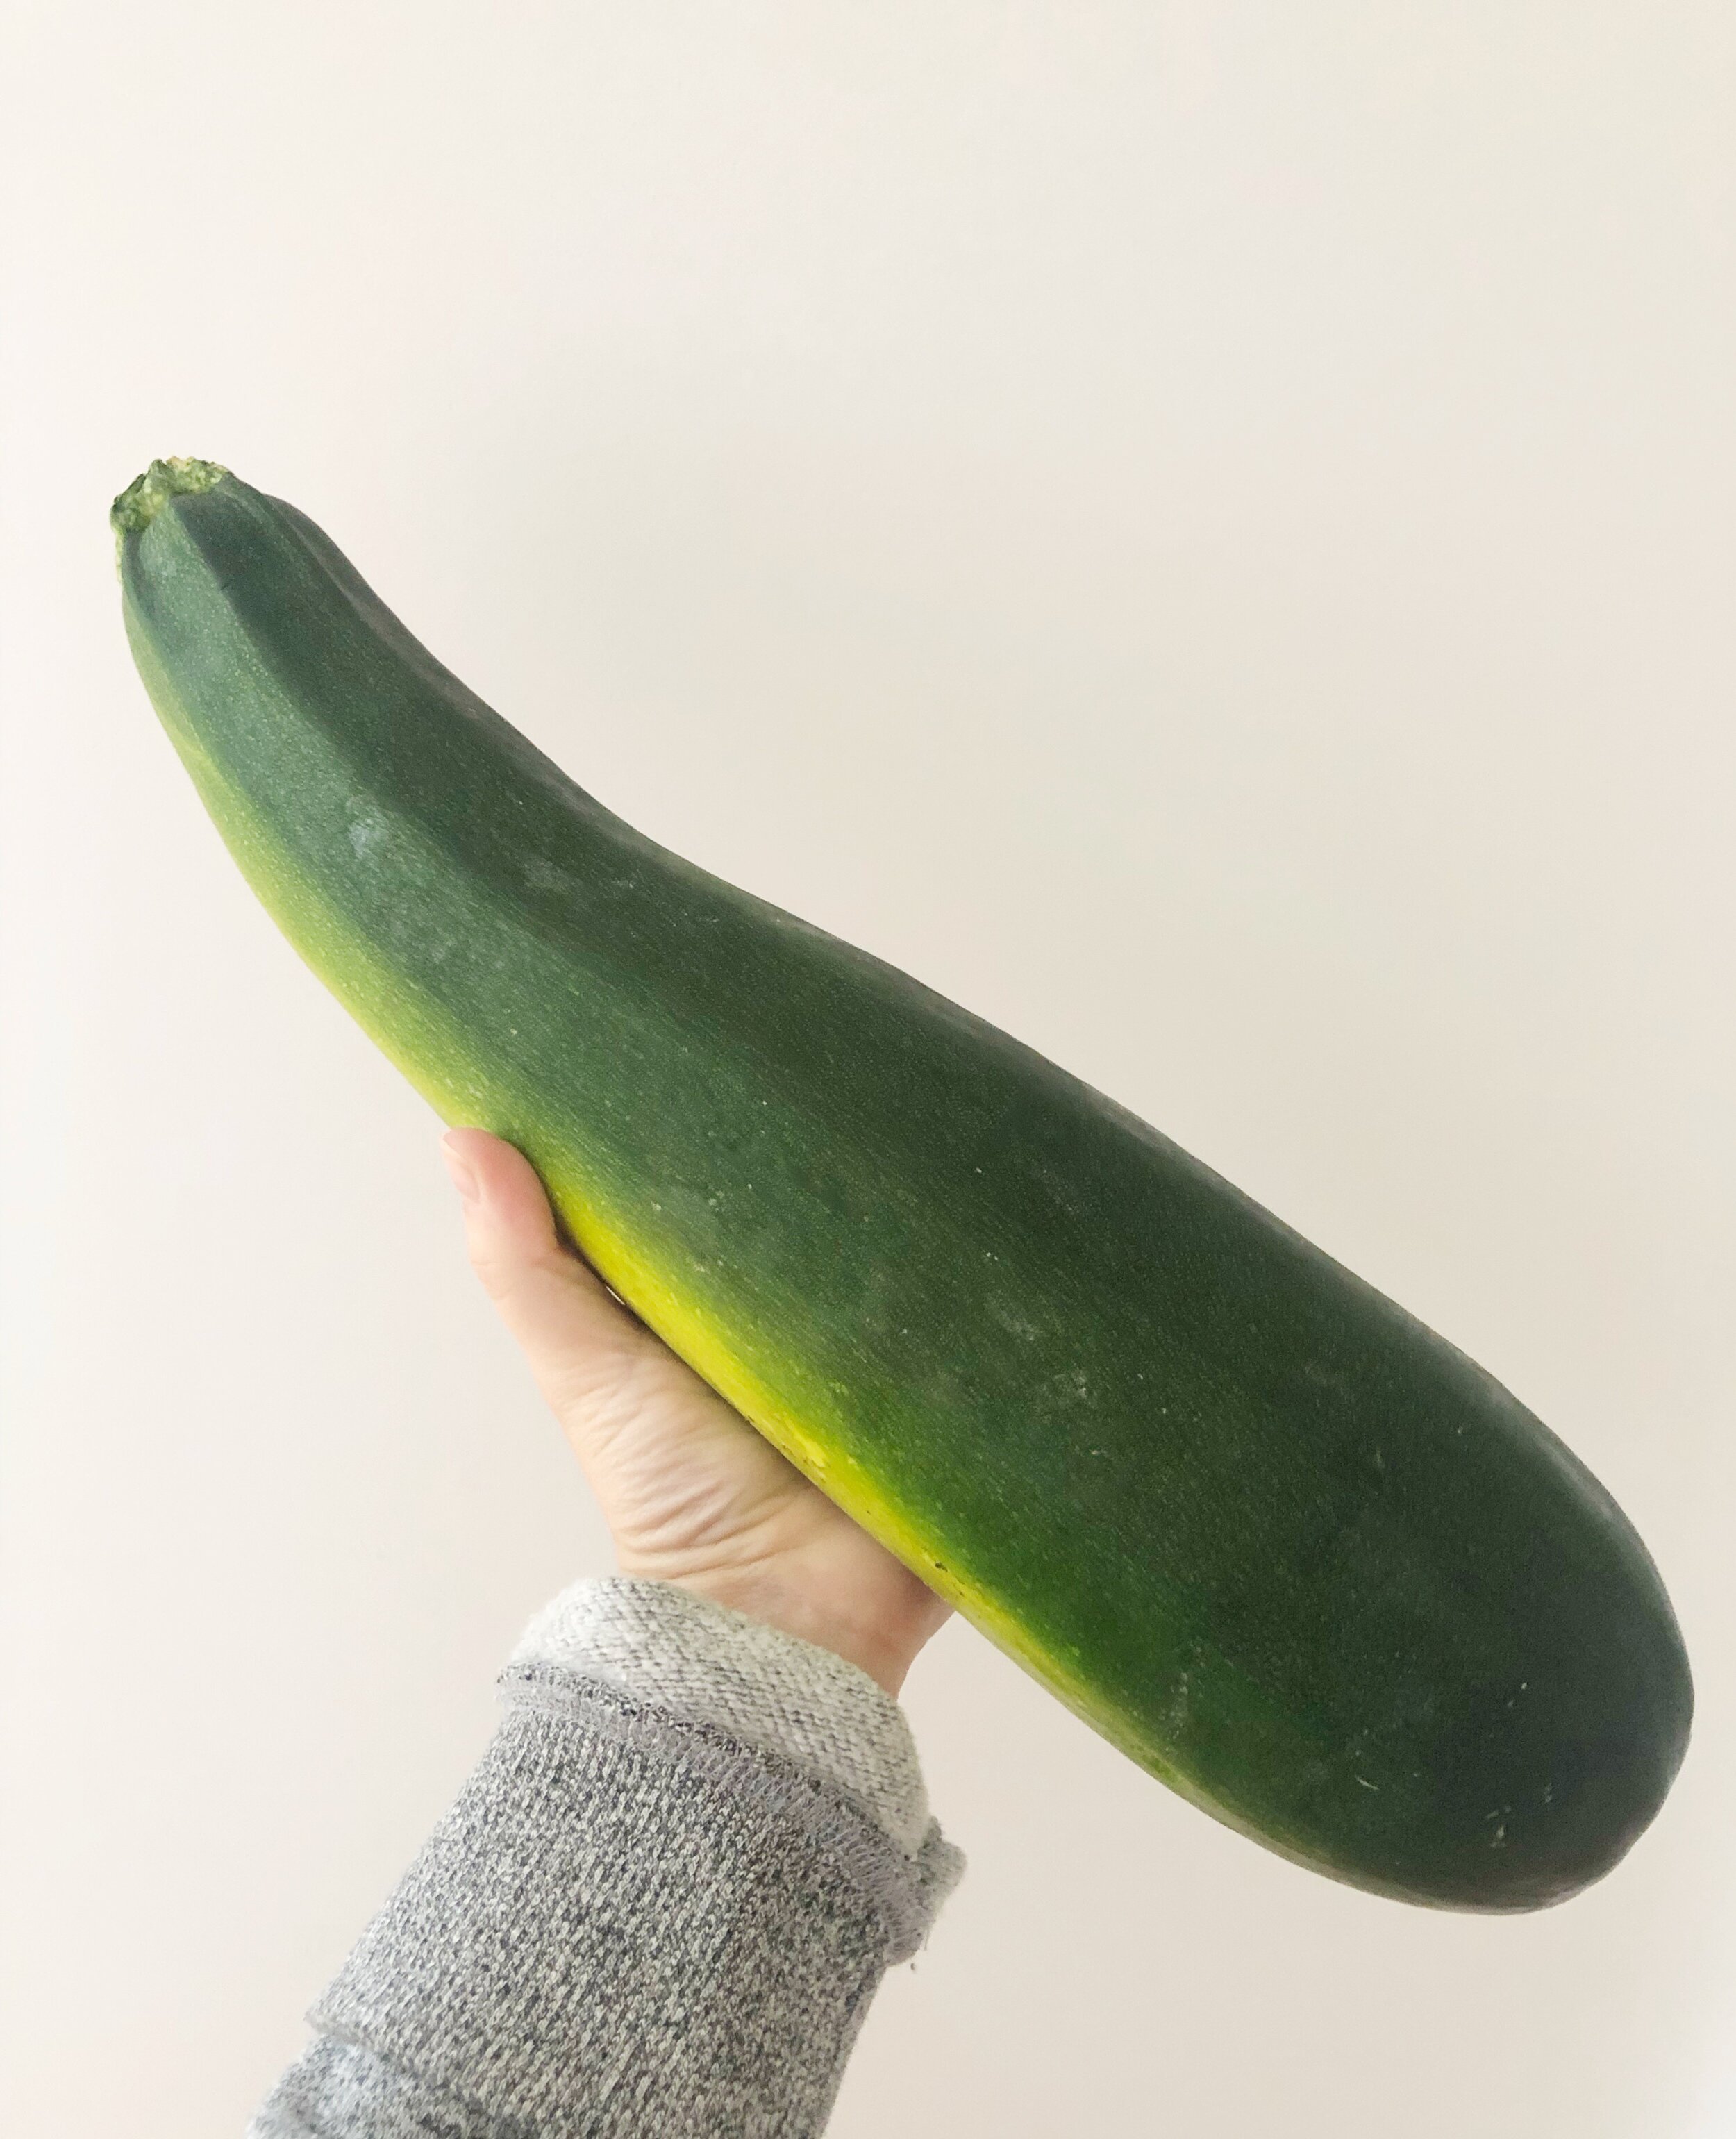
  • 1 cup zucchini (grated & strained - i like to use cheesecloth or a mesh bag to remove excess water from the zucchini)

  • 1/2 cup tapioca starch (brown rice flour works as well or an all purpose flour if you don’t want to be gluten free)

  • 1/2 cup raw cacao powder

  • 1/2 cup + 2 tbsp maple syrup

  • 1/2 cup dark chocolate chips (or dairy free chocolate chips - I like the “enjoy life” brand)

  • 2 tbsp avocado oil

  • 1/2 tsp sea salt

  • 1/2 tsp baking soda

Directions:

  1. Preheat oven to 350 F

  2. Put all ingredients (except zucchini and chocolate chips) in blender.

  3. Blend for 10-15 seconds on high, scrape down sides and do 1-2 more times until fully mixed.

  4. Put batter into a mixing bowl, stir in zucchini and chocolate chips

  5. Fill muffin cups 3/4 of the way with the batter

  6. Bake in the oven for 18-20 mins or until toothpick comes out clean

Slow Cooker Sausage and Kale Soup - Recipe

I always love a good bowl of soup, but it seems like during the fall and winter it is a “go-to” for those extra chilly days. Not that I am wishing away what we have left of summer…but I do enjoy cozying up with a nice homemade bowl of soup during fall!

The main reason I wanted to share this recipe is because I was at the Farmers Market last weekend and picked up some fresh sausages from Thyme For Ewe Farm and they were so delicious and I think they would be perfect for this recipe! There was also a lot of other farmers there as well with tons of fresh produce, you could pick up everything there to make this recipe which is a bonus because not only is everything extremely fresh but you are also supporting local as well.

Check out the recipe below and let us know what you think.

Ingredients:

  • 12 oz pork sausages, cut into chunks

  • 1 medium yellow onion, diced

  • 2 carrots, diced

  • 2 celery stalks, diced

  • 8 cups kale

  • 8 cups water or broth

  • 2 tsp sea salt

  • 3/4 cup long-grain brown rice or quinoa (optional)

Directions:

  1. Add all ingredients into slow cooker and cook on high for 4 at least 4 hours or 8-12 hours on low.

  2. Divide and Enjoy !

Notes:

  • Refrigerate for up to 3 days

  • Can be kept in the freezer as well, the grains will thicken so if you plan on freezing you may want to omit the grains and cook in when you plan on having it

  • Use a homemade bone broth for liquid (you can do half broth half water as well…play around with it!)

  • No slow cooker ? No problem! If cooking on a stove top, brown sausage and onions first then, add in carrots, celery, water/broth and salt. Bring to a boil, add in grains if using them. Simmer until grain is cooked and veggies are tender. Stir in kale until it wilts just before serving

DO you love soup? Check out the “Lobster Coconut Noodle Soup” recipe by clicking HERE.

New Class Alert!

Low & Slow

This one hour, low impact class will focus on strength, mobility and the power of breath. Not quite yoga, not quite pilates, Dr. Jen will guide participants through a 45-minute class that will leave participants feeling strong and calm.

This class will be limited to a maximum of 12 students to allow for more one-on-one instructor time. All ages and abilities are welcome.

What to bring: Yoga mat, comfortable clothes, water.

Time: 9:00am, Wednesdays

Location: Our Lady of Fatima Church basement

6-week program starting Wednesday September 11th (Sept 11, 18, 25, Oct 2, 9, 16)

Cost: $60

Call 902-270-7022 to register - very limited availability

Back To School Lunch Ideas

Untitled design (8).png

Even though it is the end of summer break, beach days are few and far between and we are getting the kids ready to go back to school, I must say, it is nice to be getting back into a routine again!

When it comes to packing kids lunches it can be difficult to get creative and find healthy options, it is very easy to head for the “snack” isle of the grocery store and fill their lunch bags with these items. While you might have a something relatively healthy packed for their main meal, chances are they are going to gravitate to the “less healthy” items first if they are there as an option. In my experience, kids do not get much time for lunch and they want to have whatever is quick and easy so they can eat and then get on the go for the remainder of the break to play!

So here are a few easy and healthy options for school lunches for kids:

  1. Roast chicken and veggies (my favourite option!) I like to get a fresh organic chicken and do my own version a grocery store roast chicken. You can put the chicken in a slow cooker (4 hours high - 8 hours low) season with sea salt, pepper, turmeric and smoked paprika, extra virgin olive oil or avocado oil. Once the chicken is done, remove from the slow cooker and pull meat away from the bones and store in the fridge for quick lunches for the week. This is great served with veggies - cut up cucumber, carrots, peppers, etc.

  2. Low sugar granola (check out this recipe recently shared on the blog) and full fat yogurt. You can also add some fresh berries on top or on the side!

  3. Homemade soup (or chilli) Investing in a good thermos is a really good idea. Schools that have microwaves usually limit the heat up time and the line up can be long, this can deter your child from wanting to heat up their lunch and could end up not even eating much at all. And let’s be honest here, kids just want to get outside and play at lunch time! I like sending soup during the winter months since because you can make big batches and load it up with lots of immune boosting/protective ingredients. (Hot tip: save the bones and drippings from your roast chicken and throw in some celery, onion, garlic, apple cider vinegar and some herbs and keep the slow cooker going to make your own broth, freeze and store for soups later!)

  4. Veggies and dip This could be a lunch on its own, but also works well as a snack option. Pairing with sunflower seed butter (nut free!) or hummus adds some extra protein. I would try to avoid using any kind of dressing (unless homemade and sugar free) as most store bought versions contain sugar, not something you want to add too much (or any at all) of to your child’s lunch.

  5. If there is one piece of advice I can give you, it is totally worth it to invest in a metal bento box style lunchbox! You can fill up those little spots with so many different healthy foods! Variety is key with kids, and with so many options you are not limiting them to just one boring old sandwich day after day. Another reason I like these is because you can sneak in something new and encourage your child to try it, even if it is just one bite and if they don’t like it, they have other options as well! Fun fact: it takes 7 times of trying a new taste to get the palate used to the flavour! Something to keep in mind when introducing new items to kids!

A few other quick tips to keep in mind when packing school lunches….

  • Have fun with it and involve the kids in the process, take them grocery shopping with you and let them pick out their favourite produce and items from the health food section (avoid the inside isles of the grocery store!). Letting kids have a choice in what they have to eat will make them more likely to actually eat their lunch. If you are making big batches of soup or granola or even some homemade snacks, let them help in the kitchen so they can feel like they were part of the process too.

  • Keep in mind any restrictions in place for the school. As you know most (probably all) schools are nut free when it comes to food, but sometimes classmates can have certain allergies as well that could be harmful to them if they are in close proximity. (Usually the parents will be informed of anything serious, but just incase its better to be safe than your kid without a lunch!)

  • The less sugar the better! Most kids packed lunches contain two times more sugar than what is recommended, and to be quite honest the recommendation is on the high side. Making sure your kids lunch has very little to no refined sugar is key. Upping the protein, healthy fat and balancing whole grains and fruit and veggies is just as important for kids as it is for adults. You do not want your child to be crashing after lunch because of what they ate. This will also make them ravenous and go on a snack craze when they get home from school because they are just not satiated enough from their meals earlier in the day. Its also important to fuel the brain with these good foods to help with their concentration levels for later in the day (the first half of the day is covered with their healthy breakfast!)

  • A final tip is about hydration! Keep it simple with water! My kids like to use a steel water bottle because it keeps it cold all day long, and most teachers are ok with keeping it in the class or in their school bag if they want a quick drink, and its a much better option than the school fountains….

I hope these help with ideas for lunches for your kids this coming school year, if you have any healthy tips you like to do, let us know what they are!

Enjoy the long weekend!

Do you want to encourage more healthy eating habits with your kids? Check out this healthy brownie recipe HERE or these chocolate zucchini muffins HERE

Simple Ways To Reduce Your Plastic Usage!

If you don’t already know…plastic is ruining our eco-systems (specifically microplastics). They have also recently been found in the air we breathe and even rain !!

Microplastics are basically tiny pieces of plastic that comes from larger plastic products that disintegrate. They can come from exfoliants (microbeads = not good!), food containers, clothing and many more products.

These are some ways that you can reduce the use of plastic in your daily life:

  1. Stop using straws. If it is a must at a restaurant, ask if they have a paper option or invest in your own metal or silicon straw to take with you. (these usually come in bulk and are very affordable)

  2. Ditch the plastic produce bags at the grocery store. These bags are great, store them with your reusable grocery bags so you have them with every trip you make to the grocery store.

  3. Packing lunch/leftovers in glass or ceramic containers is better for the environment and your health. Heating up food in plastic containers is not recommended (this is a whole other blog all together…stay tuned for that one!)

  4. Use reusable snack bags to pack snacks on the go. I really like this brand of bags. They come in all different sizes as well, anything you would use a plastic bag for (even freezer bags) this is a great option.

  5. Get rid of the plastic wrap! Another kitchen “staple” that can be banished for good! I LOVE beeswax wrap. Not only is it eco-friendly, it keeps food fresh for much longer than plastic wrap.

  6. Buy anything you can in bulk and reuse containers to reduce packaging waste.

  7. If going to a restaurant, bring your own containers for taking leftover’s home instead of using their plastic or styrofoam containers.

  8. Thrift shopping is very eco-friendly and reduces the amount of clothing in landfills. When purchasing new clothes or fabric products, look for brands that are made with cotton, linen, hemp and wool.

  9. Use a reusable cup when ordering your daily coffee or tea and try and remember to use a reusable (preferably metal or glass) water bottle.

  10. Last but not least, this one is simple…stop purchasing plastic stuff!


We could go on and on about this, there are SO many ways to reduce your plastic usage. The most important part is being aware of the issue and then implementing the steps to help reduce how much plastic we are using. The numbers are big, and it may seem “useless” because you are “only one person”, but if everyone takes the initiative to reduce how much plastic we are using, then hopefully by 2050 our oceans won’t contain more plastic than fish!


Check out the links in the post for more info about microplastics. Also, i posted this link on our Facebook Page but I will post it here as well. It is a video and some info about plastic in our oceans, there is a lot of really great info in here to share with others.


Avocado Brownies - Recipe

Untitled design (5).png

Have you ever added avocados to your baking? You should really give it a try, these brownies are delicious and you would never know that there is avocado in them (great for picky eaters!)

Adding avocado not only adds in a good amount of healthy fat to your baking, but also makes the texture of these brownies very soft and fluffy.

Check out the recipe below and if you give it a try, let us know what you think!

Serving = 12 brownies, (9x9in. pan)

Ingredients:

  • 1 ripe avocado

  • 2 eggs

  • 1/2 tsp vanilla

  • 1/2 cup coconut sugar

  • 3 Tbsp coconut oil or coconut butter (melted)

  • 1/2 cup almond flour

  • 1/2 cup cacao power (or cocoa powder)

  • 1 tsp baking soda

  • 1/2 tsp sea salt

  • 1/3 cup organic dark chocolate chips

Directions:

  1. Preheat oven to 350F

  2. Add first 5 ingredients into food processor & blend

  3. Add in remaining ingredients (excluding chocolate chips) and blend until smooth

  4. Stir in chocolate chips, leaving some for topping

  5. Line pan with parchment paper

  6. Pour batter in pan and smooth - top with remaining chocolate chips

  7. Bake 18-20 minutes

  8. Remove & let cool before cutting

  9. Enjoy !

Love pancakes? Check out our most popular recipe “Pancakes with Protein” by clicking HERE.

Capture Cape Breton Finalists 2019

Capture Cape Breton Finalists

Thank you to everyone who entered! We had over 100 entries for the contest and you have no idea how hard it was to choose only six - so we are adding two wild card entrants! That’s right, 8 people have qualified for the finals!

Here are the EIGHT finalists for our Capture Cape Breton contest. 

The winner will receive a free massage every month for the rest of 2019! 

Vote via Facebook or Instagram, please only one vote per social media account. 

Voting closes at midnight on August 30th 2019.  

Here’s a closer look at our finalists. 

IMG_6748.JPG

1.Iona

Katherine Macleod

IMG_6736.JPG

2. Lighthouse

Etienne Frechette

IMG_6732.JPG

3. Mira River Full Moon

Laura Marie

IMG_6744.JPG

4. Kid Jumping

Michelle Lundrigan

IMG_6737.JPG

5. Barachois River

Shirley Campbell

IMG_6734.jpg

6. Charles on Branch Pond Look off

Sylvia Dove

IMG_6739.JPG

7. Kennington Cove

Christiane Kennedy

IMG_6740.JPG

8. West Mabou Beach

Stephanie MacPherson

Take a look at the fine print:

  • entrants must like our Facebook page/follow us on Instagram (this is so we can tag YOU)

  • entry must be a picture of Cape Breton that YOU took - it can be from a "real camera" or a phone, but you must be the photographer

  • winner will receive a complimentary massage on a Monday or Tuesday every month (starting in September) for the rest of the year

  • massages must be booked in advance and cannot be sold to somebody else (but can be gifted)

  • prize does not include massage therapist gratuity

  • massages must be claimed by the same person

  • by entering you are giving us permission to use your picture on our website and social media pages

Energy Balls - Recipe

Untitled design (4).png

If I had to pick one of my favourite healthy and quick snacks to make it would definitely have to be the “energy ball” . I make all kinds of different combinations when it comes to making energy balls, it usually ends up being whatever I have in the cupboard at the time thrown together, but this recipe is one of my all time favourites.

These energy balls are made with two of my favourite adaptogens. What is an adaptogen you ask?

Adaptogens are natural substances derived from plants or botanicals that help the body adapt to stress, anxiety and fatigue. The adaptogens used in this recipe are maca and ashwagandha. Maca is a natural energy booster and is also great for balancing hormones. Ashwagandha is used for its calming benefits, it also helps reduce inflammation and improve your memory!

The other thing I love about these two adaptogens is that they are the easiest/most common ones to find in stores (especially in Cape Breton!)! You can check with your local health food store or bulk food store and they will most likely carry them. If not, you could get them on Amazon or online health food stores.

Check out the recipe below and if you make them, let me know your thoughts!

Ingredients:

  • 3/4 cup walnuts

  • 3/4 cup almonds

  • 8 dates (pitted)

  • 1/8 cup chia seeds

  • 1.5 tbsp coconut oil

  • 1/4 cup cacao powder

  • 1.5 tbsp raw honey

  • 1 tsp cinnamon

  • 1 tsp vanilla extract

  • 2 tbsp maca powder

  • 2 tbsp ashwagandha powder

  • 2 tbsp cacao nibs (optional, as these can be quite bitter)

Directions:

  • Soak dates in warm water for approximately 10 minutes to soften

  • While dates are soaking chop nuts and seeds in food processor

  • Strain water from the dates, add to processor and pulse until a dough-like consistency forms

  • Add the rest of the ingredients and pulse until well combined

  • Form into balls

  • Roll in cacao powder, unsweetened coconut or chopped nuts (this step is also optional)

  • Store in an air tight container in the fridge for up to 4 days

  • Enjoy !

If you are pregnant and/or lactating, it is advised to limit the use of adaptogens or avoid all together, if you wish to play it safe, you can still enjoy this recipe without the use of the adaptogens!

Do you love cookies? Check out this awesome recipe for “110% awesome cookies” HERE

Exercise Class Schedule

Fall is like the second coming of New Year’s resolutions. It’s a time to revisit goals, get rid of bad habits and start some healthy routines. Here is our fall exercise class schedule:

Tuesdays @ 1pm

  • “Sweat and Play”, Play Palace - 4-weeks $40 or $15 per drop in class. Kids/babies get supervised play time while mom gets a great workout!

  • Starting September 10th

Wednesdays @ 10am

  • 55+ Exercise class, Our Lady of Fatima Church - 6-weeks $30 or $7 per drop in class. This class focuses on strength, endurance, mobility and balance. Participants of all levels and abilities welcome!

  • Starting September 11th

Thursdays @ 10am

  • Strength and Mobility with Dr. Shaun, Southend Community Center - 6-weeks $30 or $7 per drop in class. Dr. Shaun focuses on movements for healthy aging.

  • Starting September 12th

Fridays @ 10am

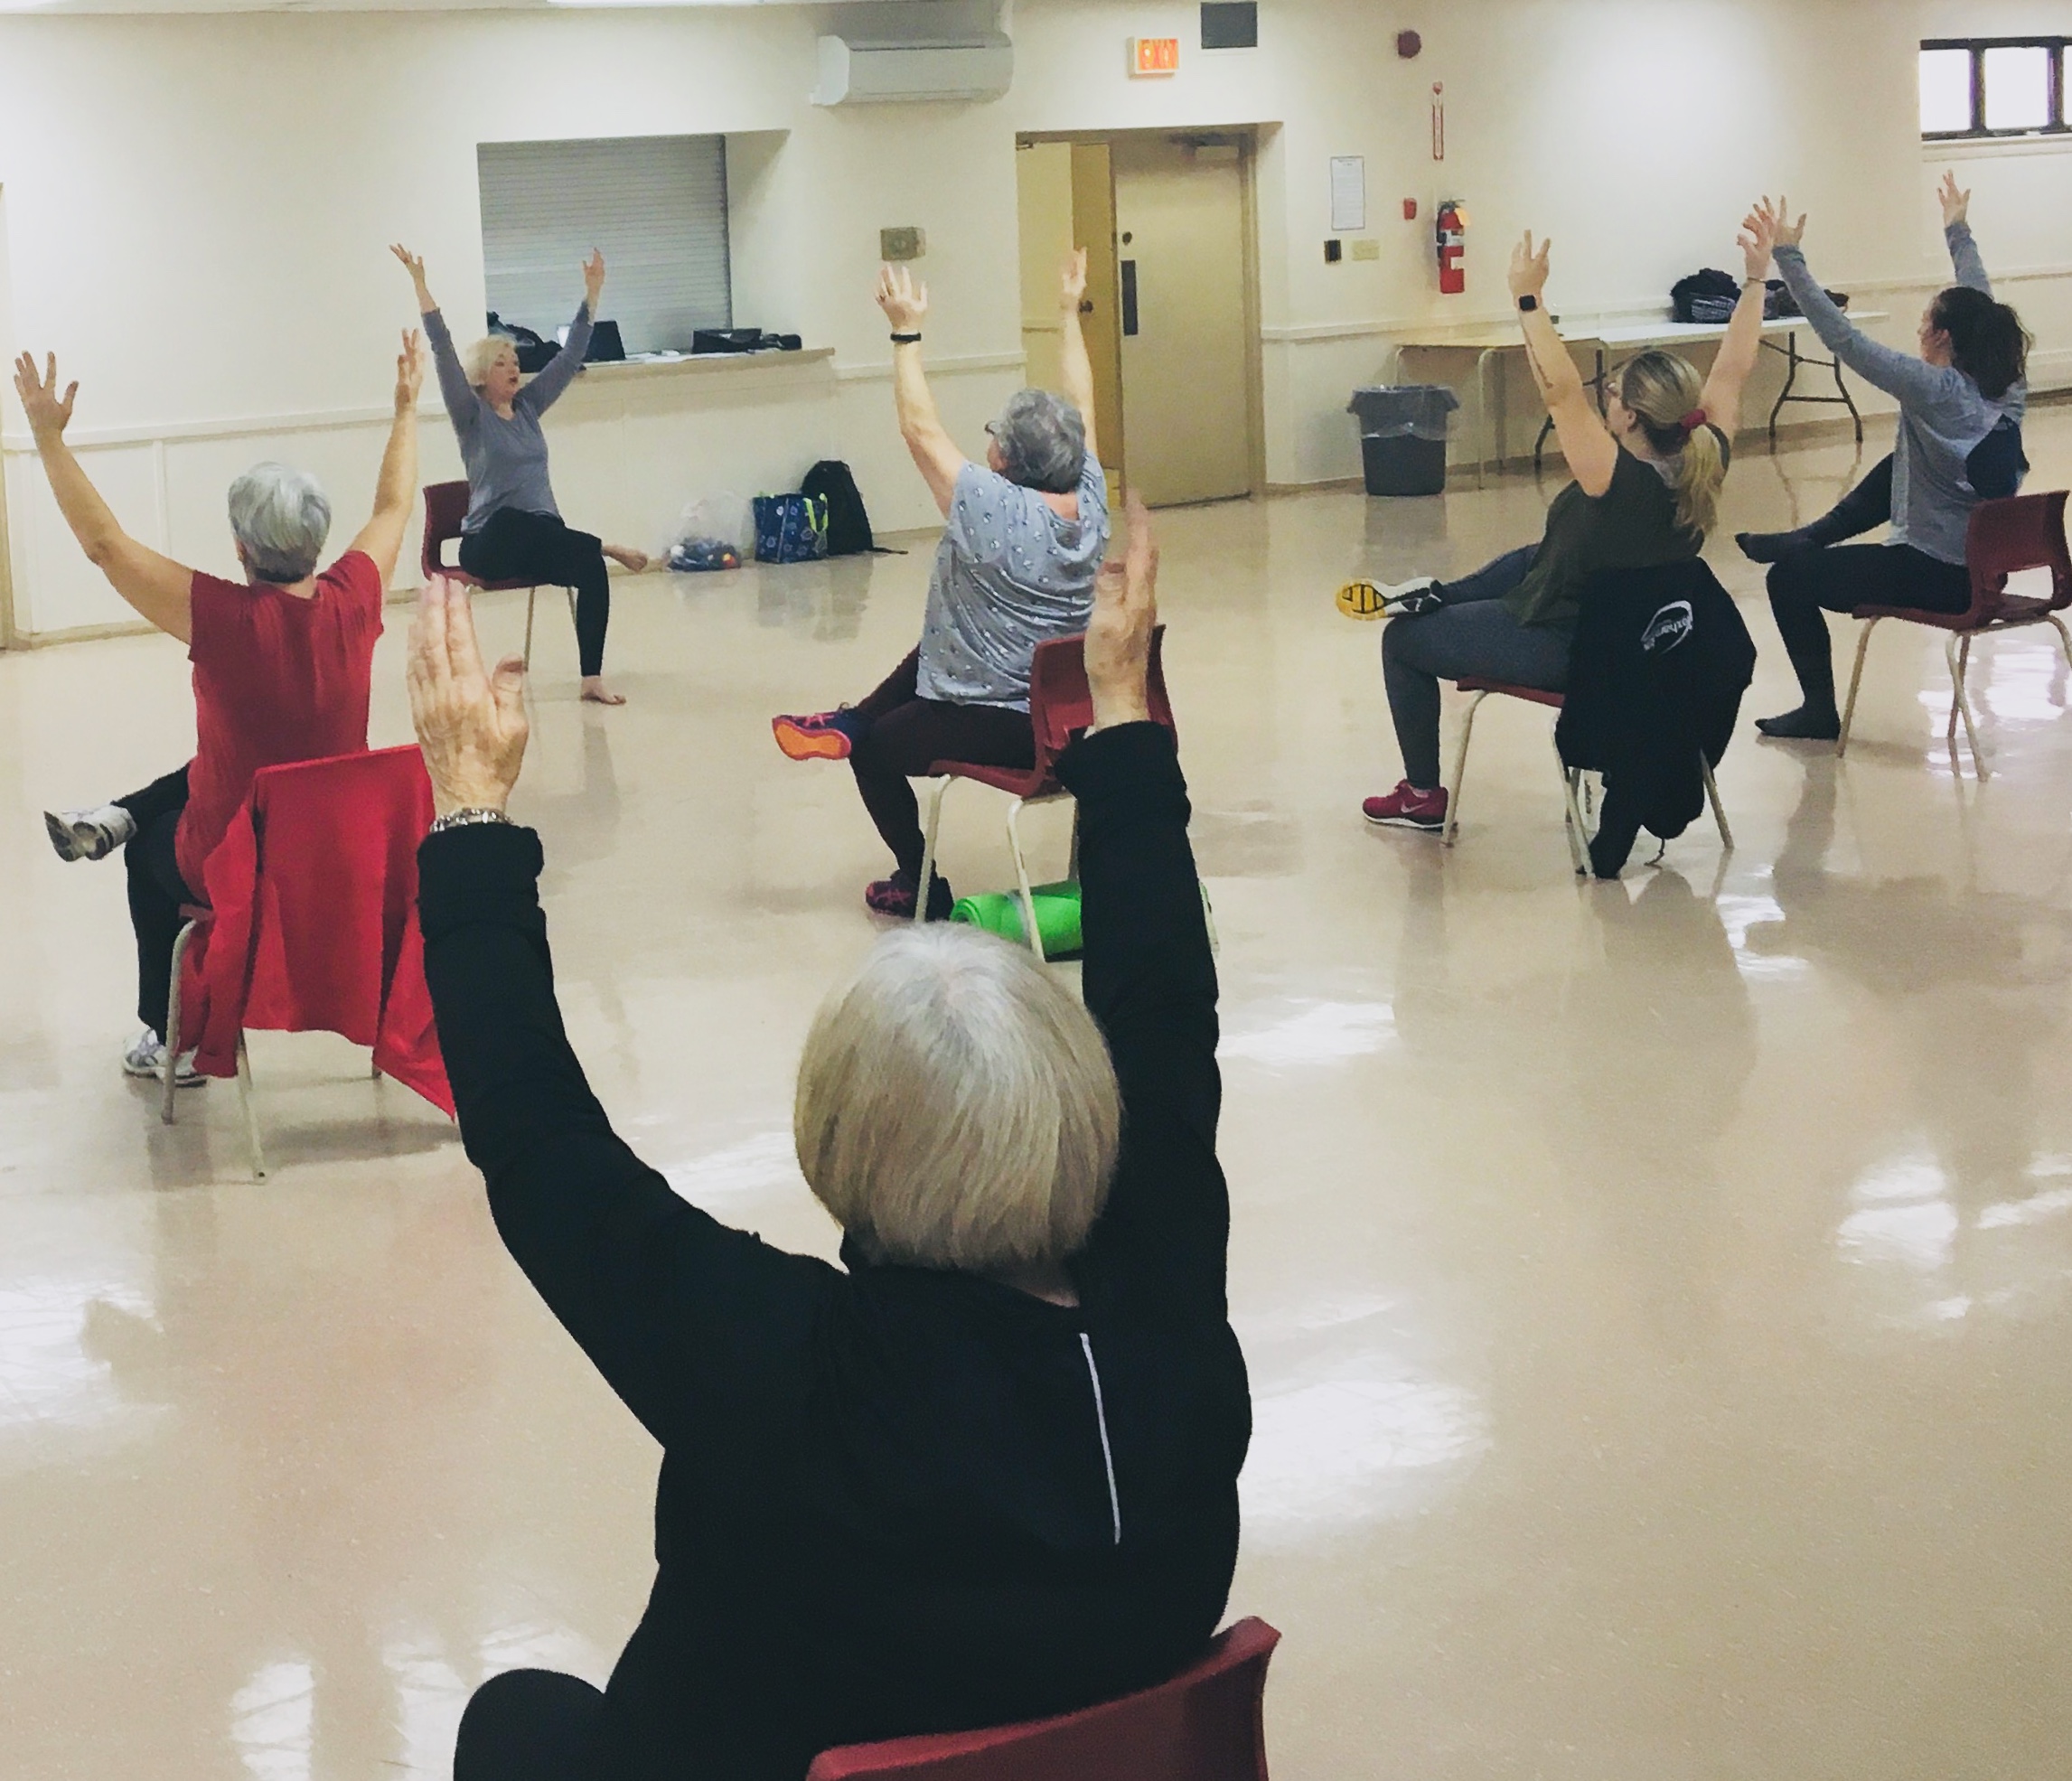
  • Chair Yoga with Jaime, Our Lady of Fatima Church - 6-weeks $30 or $7 per drop in class. Many of the poses of a traditional Yoga class are performed using a chair to assist those who may have mobility or balance challenges.

  • Starting September 13th


What Exactly Is A Private Yoga Session?

When you book a private Yoga session, you are getting a practice that is made specifically for you and your own needs, this looks different for everyone. Below I have outlined a few of the more common reasons people attend Private Yoga Sessions and what to expect:

  • Looking for a private class because you can’t make it to a scheduled class? Let us know when you book your session. Once you show up for your session you will be guided through a 45 minute session in the Yoga style you wish to practice (this is can be decided on the day of the session as our mindset is always changing, you might want something for energy or maybe something to help with relaxation at the end of a long day. During the 45 minutes you will be one-on-one with the instructor who will help you with proper alignment and can also work with you on any personal goals you might have within your practice you wish to achieve.

  • Some people look to Yoga as a healing modality when dealing with chronic or acute conditions. More and more health practitioners are realizing the healing benefits of Yoga and mindfulness practices for many health related issues.

  • If you are wanting to learn more about how Yoga can specifically help you improve the health of your body & mind, this is another way a Private Yoga Session could be helpful. You can come and talk to the instructor, she will go over any important information needed. Based on what you talk about, a home practice composed of specific Yoga poses will be made and given to you to take home and practice. Our instructor will also go over each pose with you and show you the proper alignment and tips for what to be aware of when doing each one.

When coming to the session, make sure you are dressed in (or have a change) of proper clothing to practice Yoga in. You want to be comfortable and not feel restricted in your clothing or limited in anyway. We have mats at the clinic, if you have your own and wish to use it, know that you are welcome to bring it with you. If you have Yoga props that you use regularly, feel free to bring these along as well (another way a Yoga session could be used is for learning proper use of props!)

If you have any questions about our Private Yoga Sessions or would like to speak to Allyson, please feel free to contact her at the office. You can do so by phone: 902-270-7022 or email: info@islandchiro.com

Allyson Lewis, RYT200hr is the Yoga instructor at Island Chiropractic & Family Wellness. She has completed her 200 hour Yoga Teacher Training and is offering Private Yoga Sessions and Yoga classes

Keep an eye out for an announcement soon with the dates and times of our 2019 Fall Exercise Class Schedule

Disclaimer - before participating in any activity that is new to you or you might not be aware if it is a right fit for you, please get permission from your health care provider. Private Yoga Sessions are not meant to treat or heal any ailment/illness or condition you may have.

Homemade Ice Cream - Recipe

Untitled design (3).png

Did you know that you can make ice cream at home without having to use an ice cream maker! Not only is it a healthier way to have ice cream (some call it “nice cream”) but you can also make what ever flavour you want, save money and involve the kids in the making process!

The base of this ice cream is made with bananas (no dairy here!). You can actually just make banana ice cream by chopping up a banana or two (or more depending on how many servings you want) freezing them and blending in a blender or food processor until it takes on the consistency of ice cream (approximately 3-5 minutes).

I have to admit, plain bananas is kind of boring (but good in a pinch when you don’t have much to add in), so here are a couple of options to make different flavours….

Mint-Dark Chocolate Chip Banana Ice Cream (a favourite of mine!)

  • 2 ripe bananas, sliced and frozen

  • 1/4 cup fresh mint (chopped)

  • 1/4 cup chopped organic dark chocolate

Chocolate Banana Ice Cream

  • 2 ripe bananas, sliced and frozen

  • 2 Tbsp organic cocoa powder

(optional - add in chopped chocolate or chopped nuts)

The directions are simple, make sure the banana is frozen, place all ingredients into food processor and blend (3-5 mins until smooth) If you want a more chunky texture add in half the ingredients and blend to get the flavour and then quickly blend the rest of the ingredients in to finish.

You can also store these in a glass storage container or a loaf pan. This is a great option if you are making a bigger batch and want to have some ready to go. Just store in the freezer and scoop out when needed.

Some other add-ins could be, any type of fruit, nuts, honey, spices (cinnamon, cardamom, etc) , any type of nut butter would work too (chocolate peanut butter banana ice cream sounds delicious!)

Give it a try and let us know what ice cream creations you came up with.

Enjoy !

Check out our recipe for the “perfect summer dipHERE

Strawberry Chia Jam

Looking for a healthier version of strawberry jam for all of those fresh local strawberries you have waiting to be used?

Check out this recipe for a refined sugar free, gelatin free & vegetarian (or vegan) friendly!

Strawberry Chia Jam:

Ingredients:

  • 2 cups Strawberries

  • 1 Tbsp Raw Honey (use maple syrup for vegan option)

  • 2 Tbsp Chia Seeds

Directions:

  1. Remove stems & wash strawberries

  2. Place all ingredients into blender/food processor. Pulse until you reach the desired consistency for your jam

  3. Put in sauce pan over medium heat until bubbling, reduce heat and let simmer for 10-15 minutes until it begins to thicken

  4. Remove from heat, pour into mason jar & let cool. Store in fridge for up to 7 days, if using later you can freeze it, just be sure to leave room at the top of the jar for expansion

  5. Enjoy !

Check out our Dairy Free, Gluten free “Cheesecake” recipe by clicking HERE.